Working With an Architectural Photographer to Showcase Your Design Intent
When collaborating with an architectural photographer, it is important that the images they create accurately convey the design intent of your project. By providing them with a clear understanding of the design concept, you can ensure that the final images will effectively communicate the intended message and vision for your work.
However, there are many intricate details involved in producing high-quality architectural photography that may not be readily apparent. This article takes a look at how you can ensure the photographer understands the concept behind your designs so they can use their skills to make images that accurately represent it.
Planning
Planning an architectural photography shoot is an essential part of achieving the desired results. Site visits, time of day, weather considerations, including people, and your participation on picture day are all important factors to consider when working with an architectural photographer.
Site Visit
When possible, schedule a site visit before the shoot to communicate essential aspects of the project to the photographer, show the building's unique features, and discuss any specific requirements or preferences for the images. The site walk-through is a good opportunity for the photographer to scout the location beforehand to identify potential challenges or opportunities and to make sure they will be able to access areas of the building being photographed.
Time of Day and Weather
Work with the photographer to determine the best time of day for the shoot, considering the position of the sun and the building's orientation. Also, consider the weather conditions, as lighting can significantly impact the final results. Put together a back up plan for bad weather. If travel is required, decide if the photoshoot has to take place rain or shine.
People?
Decide whether to include people in the images. Including people in architectural photos can add a sense of scale and show how a space is used, but it's important to consider the context of the photos and whether the presence of people is appropriate. If you decide to have people in the pictures, do they need to be models? If models are not an option then can you recruit co-workers or find people on-site that are comfortable being photographed and available on picture day.
Participation
Decide whether you or another company representative will be present on picture day to provide feedback while each space is being photographed. While it's not necessary to be on-site during the shoot, it can be fun for you to soak it all in while your project is being photographed and reflect on all the work that made it happen. If you are not able to be on-site during the day of the shoot, you can ensure everything goes smoothly by providing the photographer with a contact should they need support.
Collaborating with an architectural photographer and communicating your requirements and preferences will help you achieve the best possible outcome. The more you are involved in the planning process, the better your photographer will be equipped to create images that showcase the unique features of your work and convey your design intent.
Picture Day
Now that the planning is done, it’s picture day! And there is a lot to do.
On picture day, an architectural photographer’s work involves a combination of creative, technical, and logistical tasks.
Making an architectural photograph starts by setting up equipment and preparing each scene. This includes setting up the camera, composing the scene, choosing the right lens and camera settings, and adjusting the placement of lights to achieve the desired effect.
On top of that, moving furniture and adjusting props is a critical component of making a successful photo that often gets overlooked. This is done to ensure that everything in the shot is in the right place and that the composition is balanced without misrepresenting the space or design intent of the project.
Once everything is just right then architectural photographers often make multiple photographs of the same scene using different lighting techniques. After the pictures are captured, furniture and props are put back the way they were found and the camera gear is packed up.
Rinse and repeat:
- set up equipment
- compose the scene
- move furniture and adjust props
- make photos
- put everything back and pack equipment up
- move to the next scene
On average, this process takes about 30-60 minutes for each scene.
As you can see, the photographer has a lot to do on picture day. With planning done ahead of time it is much easier for them to focus on creating excellent photographs of your work.
Post Production
Once the photo shoot is completed, architectural photographers upload the images to their computer and begin the work of editing your photos. This is a comprehensive process that is necessary for producing high resolution images of portfolio quality.
Post production generally starts by choosing the best images from each scene and manually blending them together to achieve the right balance of lighting. Then specific areas of each photo are isolated to adjust exposure, color, and contrast. Finally, each image is retouched to remove wires, fire alarms, outlet covers, and other distracting elements.
After editing each image, the final step of post production work is backing up the final image files, delivering them to you, and archiving them.
It's common for post production work to take up more time than the actual photo shoot!
Example Architect Photoshoot: Elementary School Addition and Remodel
When possible, I like to include examples. Here are pictures from a recent architectural shoot of an elementary school addition and remodel.
Scouting Pictures
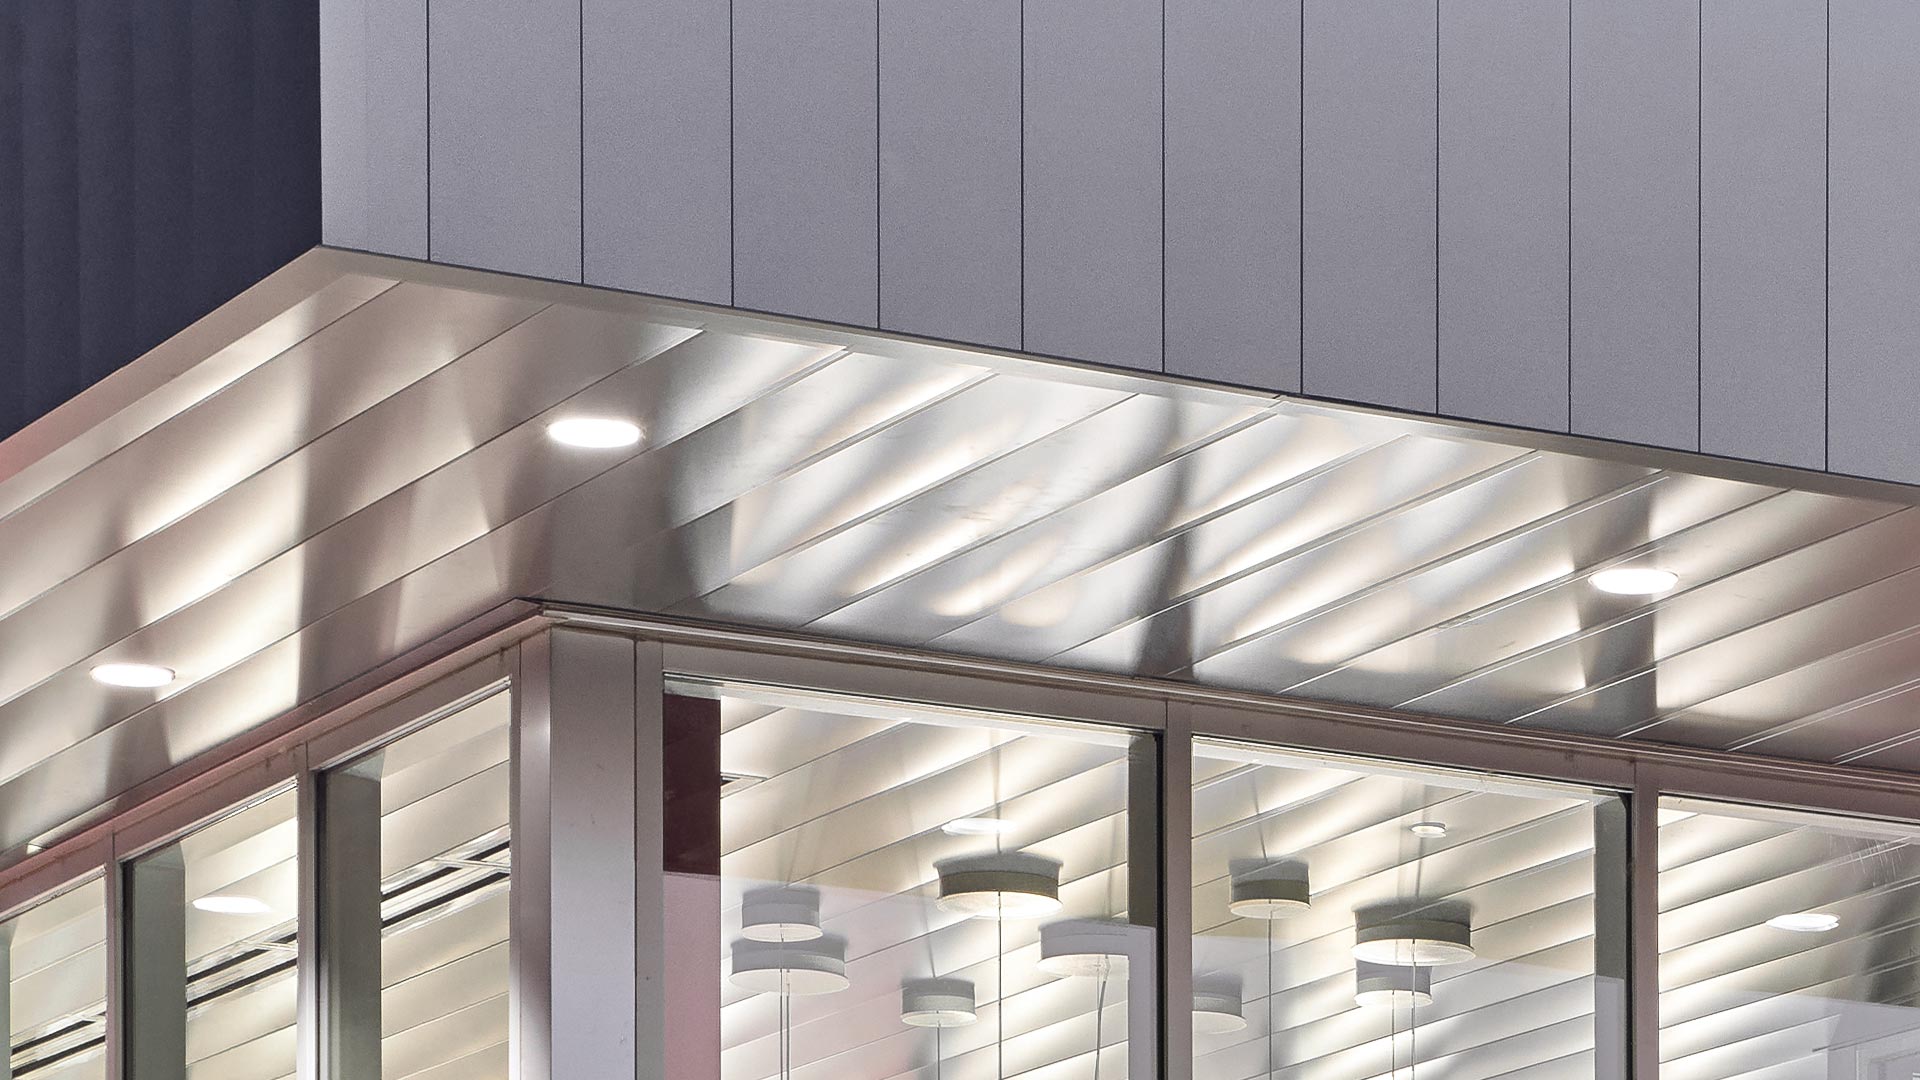
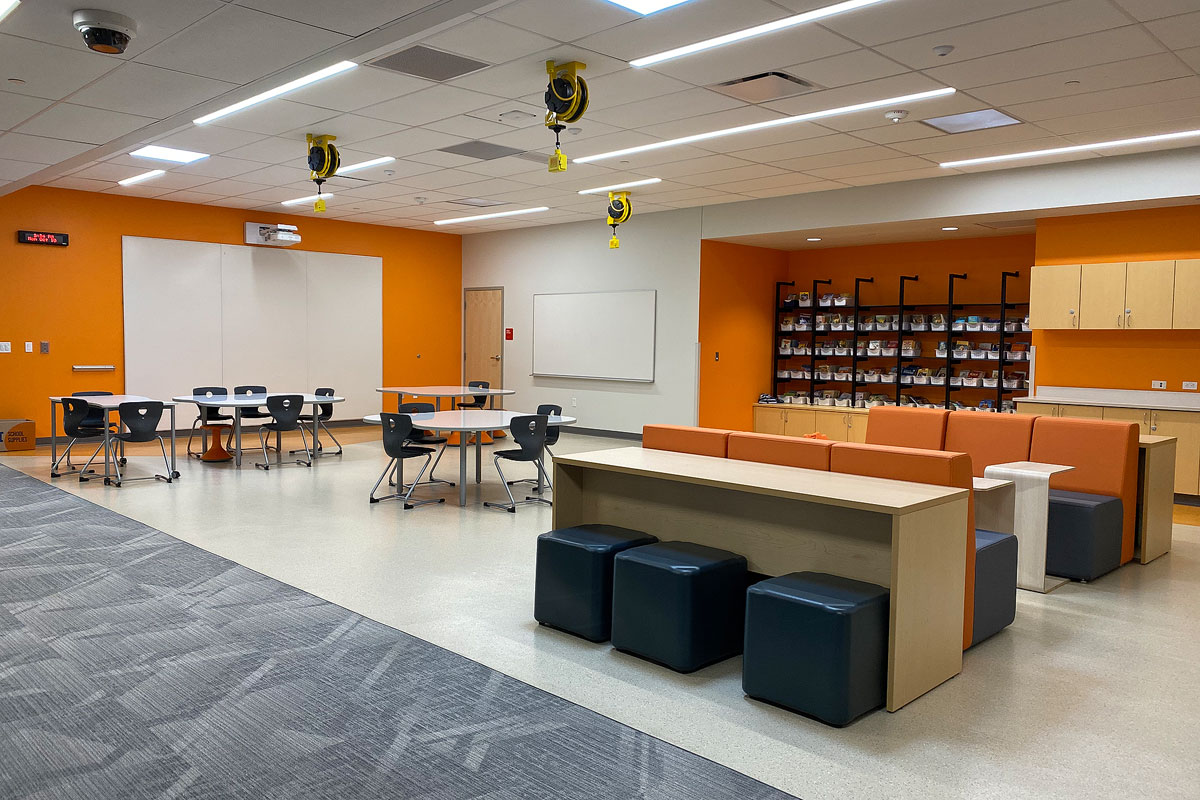
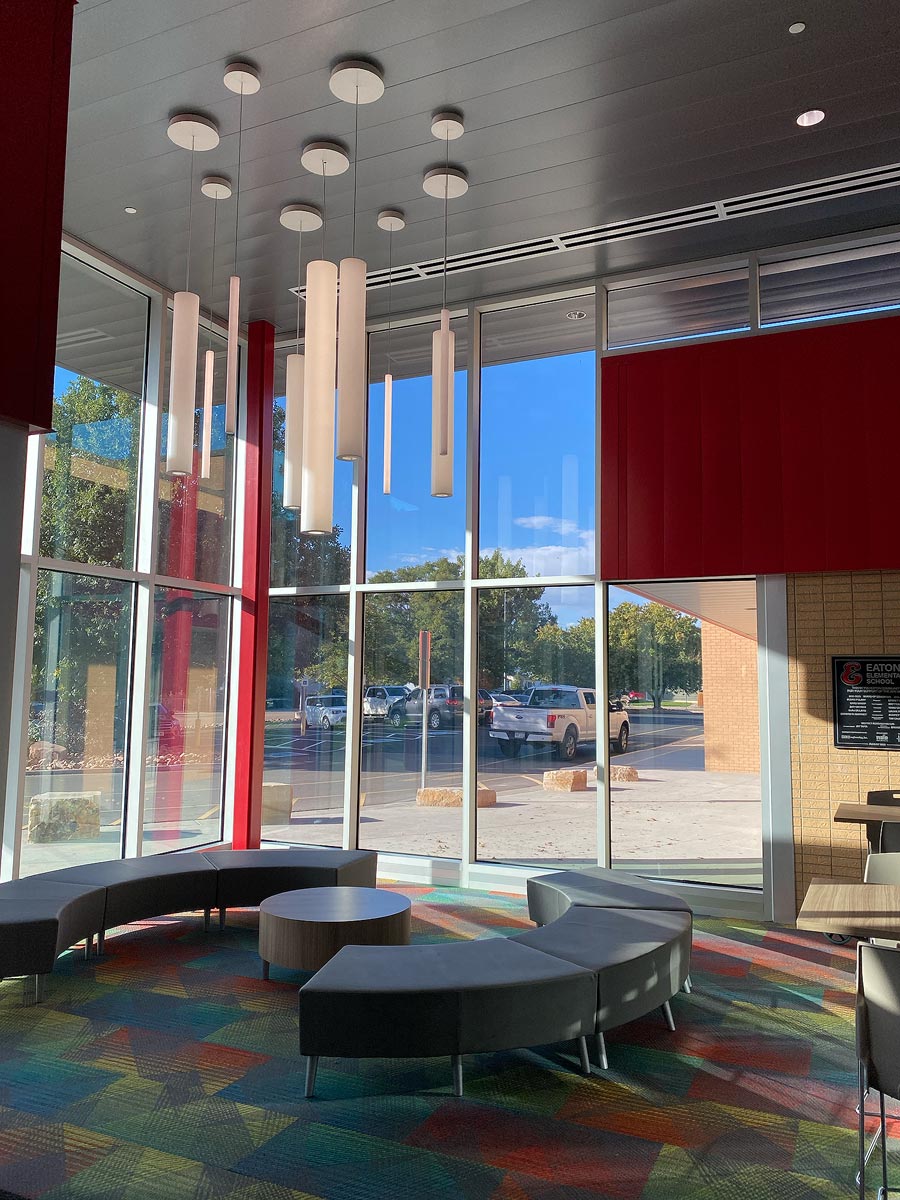
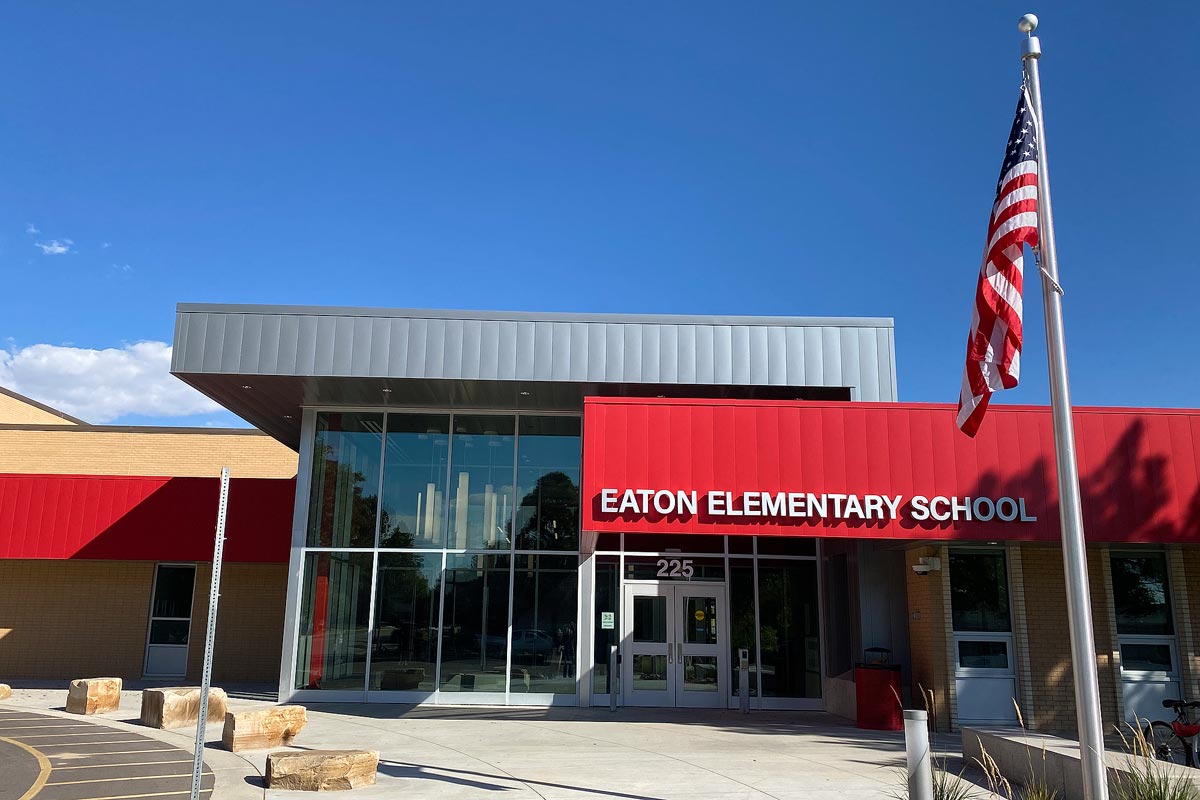
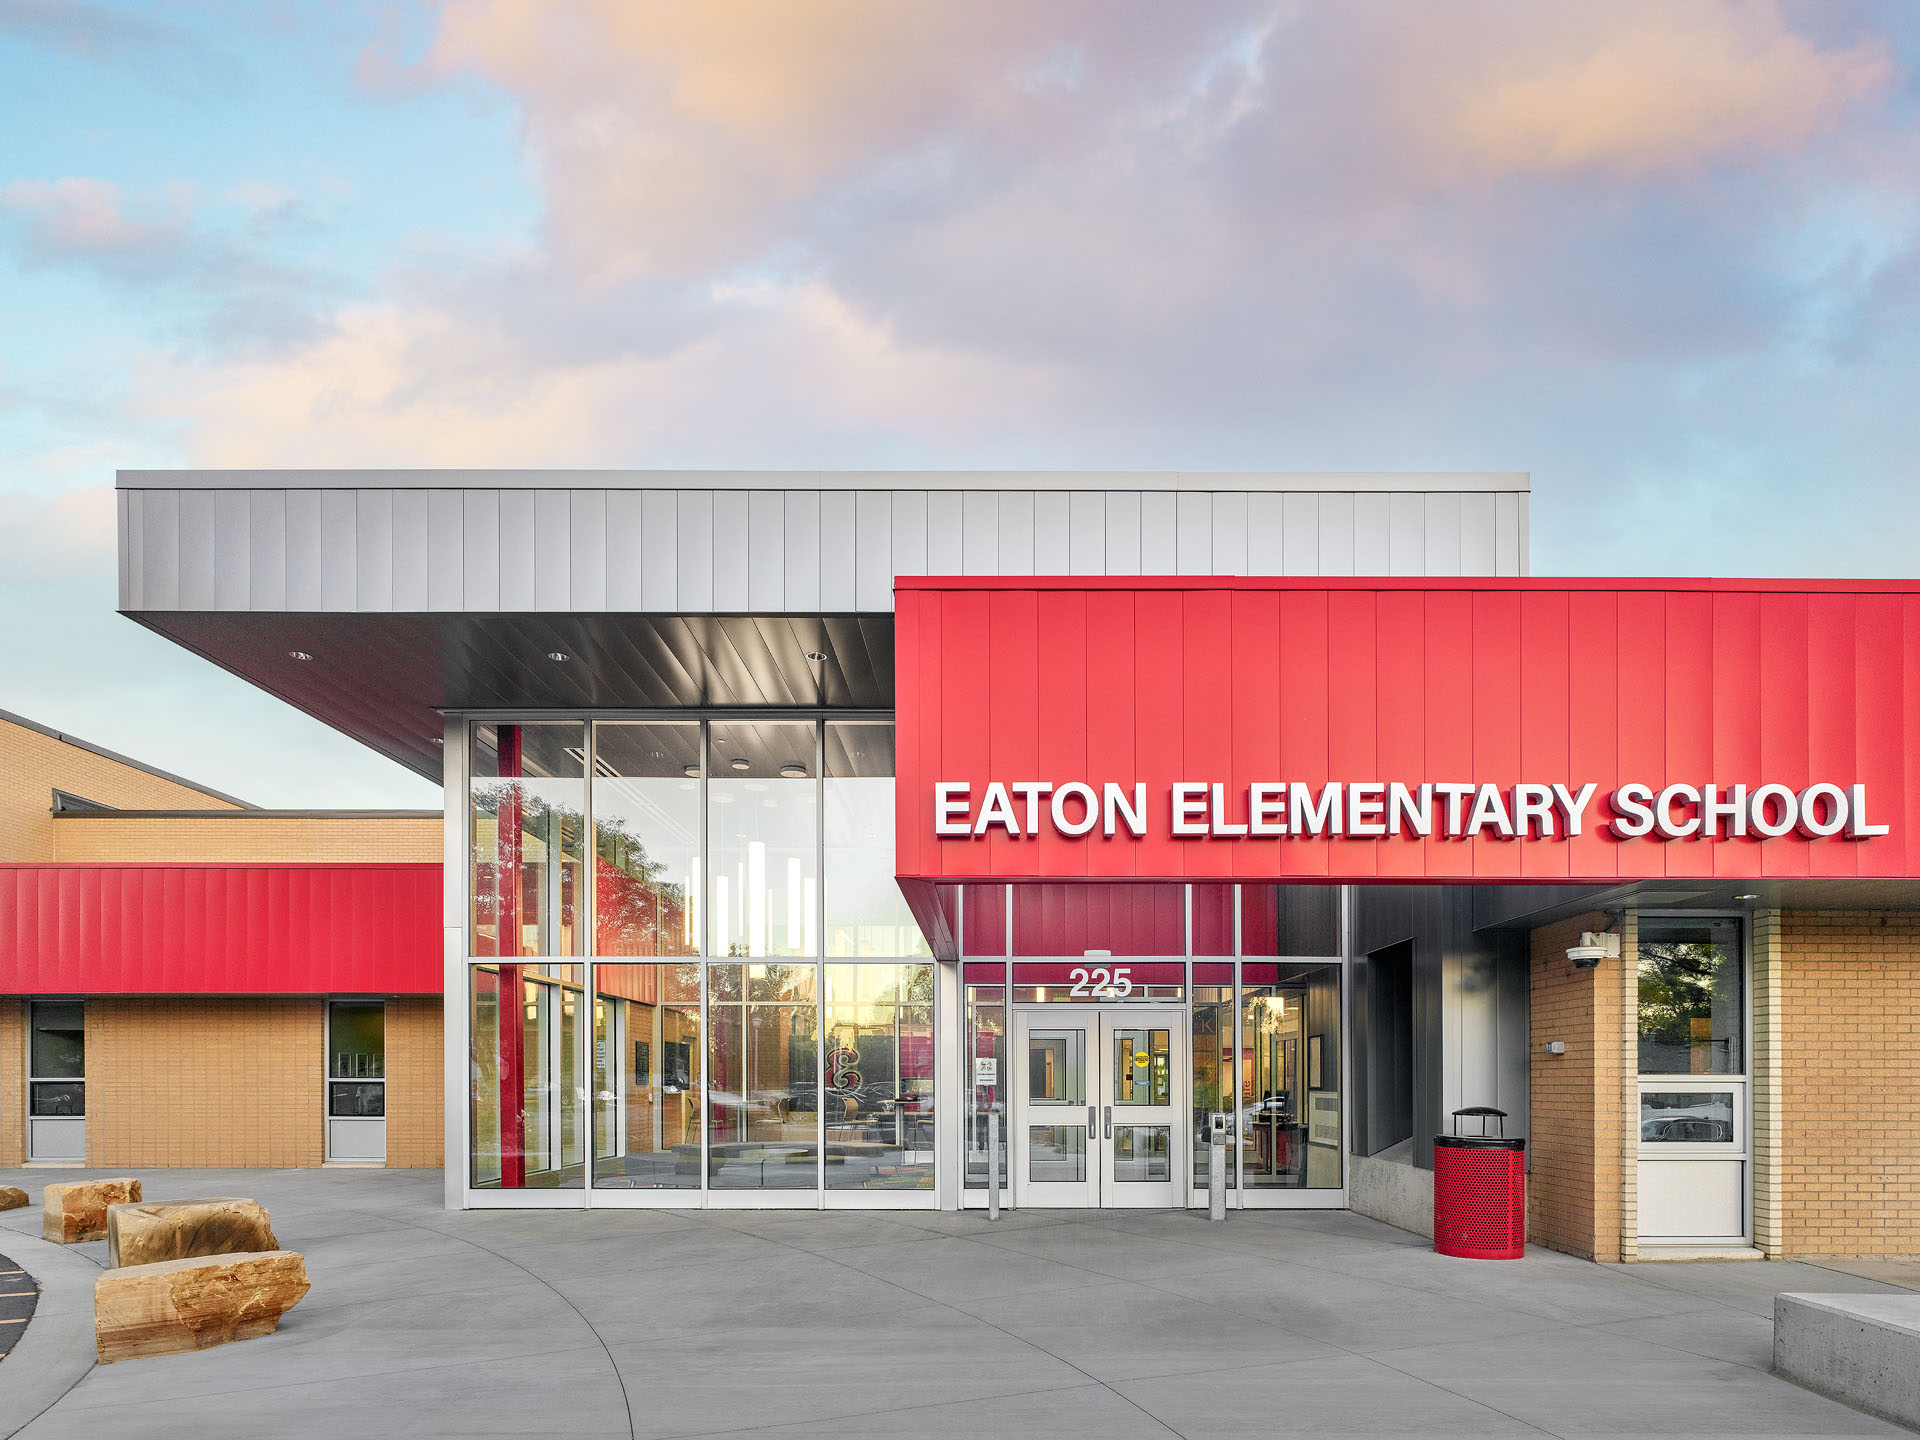
The architect had me out for a site visit on the day before picture day. An interesting part of the remodel is how they color coded different areas of the school to make it easier for the kids to know where they are supposed to be. The architects also designed additional space for a foyer in the entryway and a new building facade system for the building. The intent of the new foyer is to provide kids with a safe space while waiting for their ride home.
Here are the scouting photos taken with my iPhone:
Composition and Lighting
Since we had 20-25 images to make on picture day we decided to rely on available light only for all of the photographs. Luckily for me, the architect was present on picture day to help wrangle up students. That seemed like a full time job in itself. Having models in these images makes a big difference and helps show scale and visually communicate the design intentions of each space.

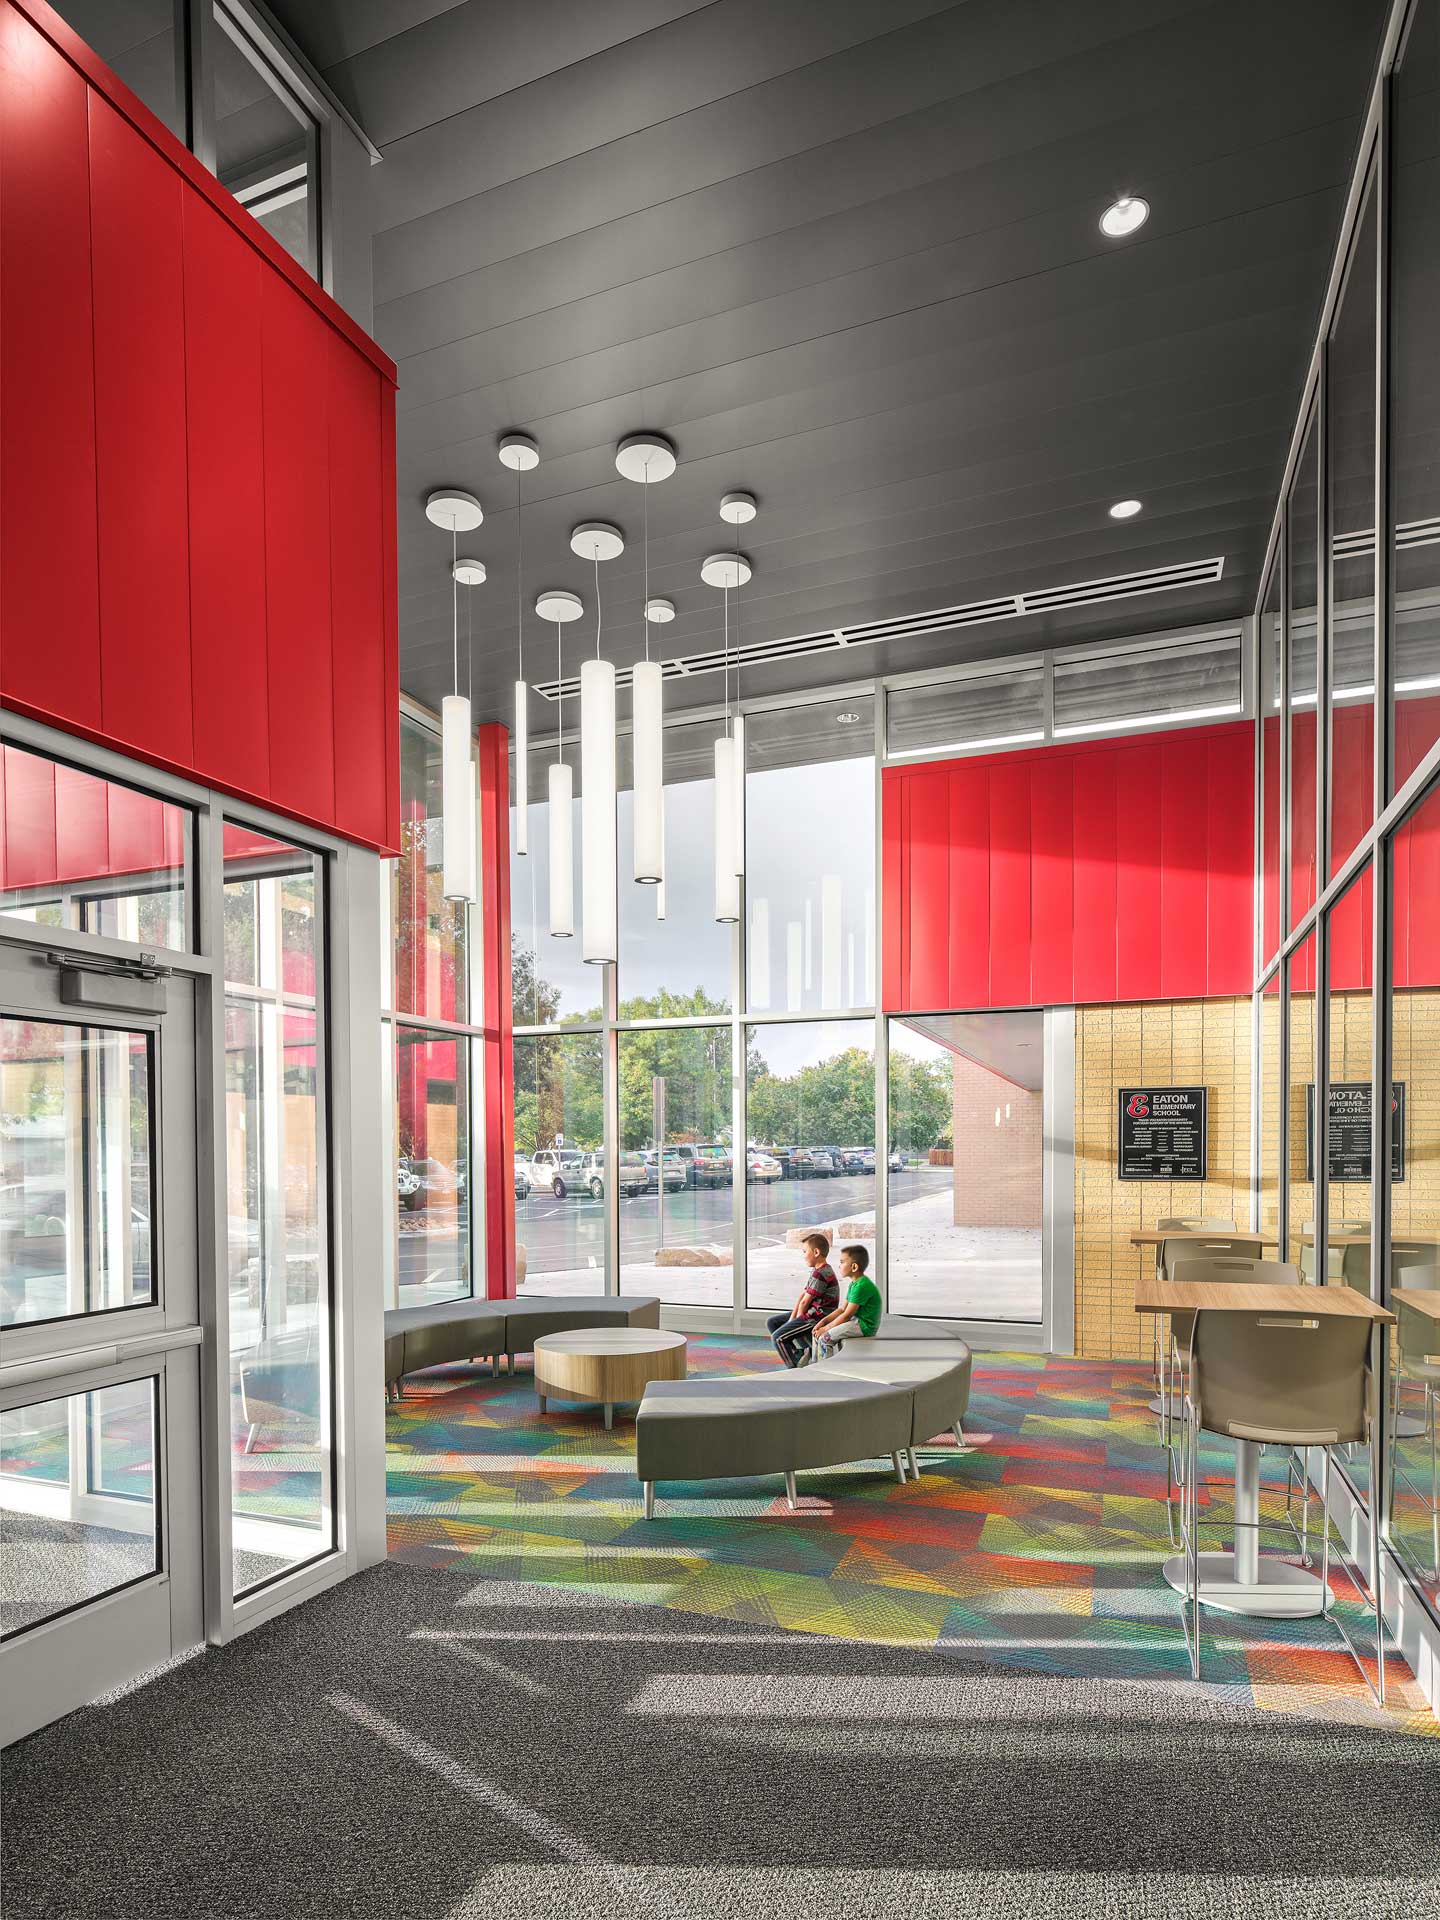
As you can see, things may not go exactly as planned, but having a plan is essential to making picture day go smoothly. We got the photos made that the architect wanted and had a lot of fun making them.
Are you ready to create intentional images of your work?
Working with an architectural photographer during the planning stage and being involved in the photoshoot process will help ensure that the final images effectively communicate the message and vision of your project. By working with an architectural photographer, you can elevate your portfolio and showcase your work in the best possible way.
Are you ready to create stunning images of your work? Please don't hesitate to contact us if you have any questions or would like to discuss how we can help you achieve your goals. With our expertise and your guidance, you can get a visual record of your designs that will leave a lasting impression on your clients and colleagues.
 Fashion Gray
 Crimson
 Deep Yellow
 Tech Green
 Black
Black Purple
 Blue Jean
 Blue Jay
 Orange
 Primary Red
 Super White